Reviving Keymonk Android Keyboard - Detailed
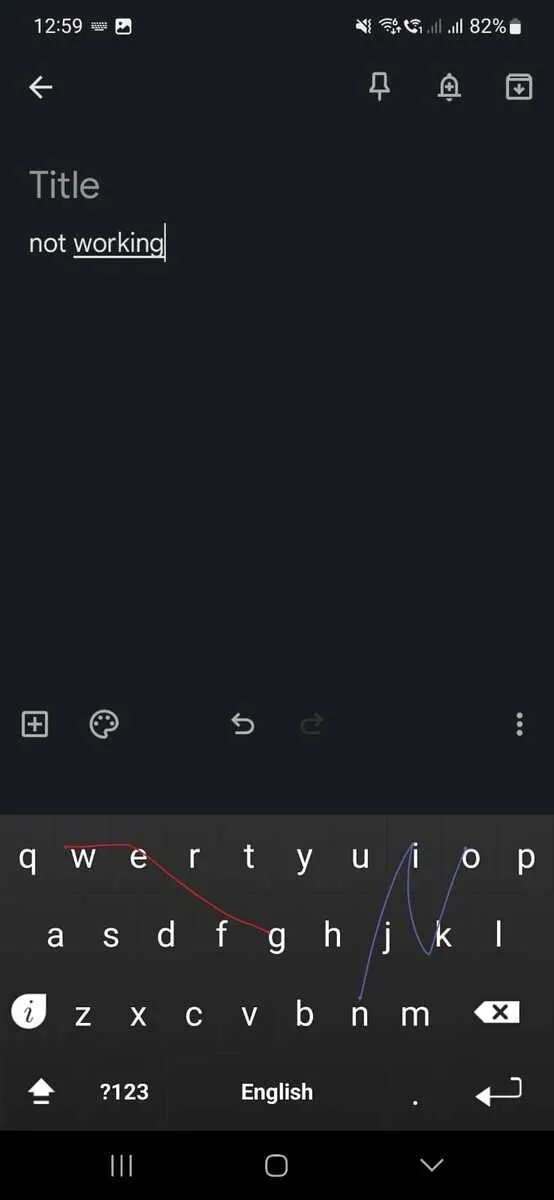
This article builds on the excellent overview from Gil Portnoy over on Medium about what needs to be done to the Keymonk Android app to get it working on Android 13. There's a minor but annoying bug where text predictions won't show on your screen.
Gil has done the lion's share of the work in identifying the problem and its cause, and figuring out how to fix it. His article gives a high-level guide to what needs to be done but as some commenters have observed, it doesn't provide detail or artifacts that can be used by others. I managed to figure out the details based on Gil's guide, and will document here the exact steps I followed so that others might be able to do the same.
Part 1: Source the APK
Keymonk really does look like abandonware, and thanks to this Reddit comment I was able to source a copy of it on Dropbox. You probably hopefully can, too!
https://www.reddit.com/r/ApksApps/comments/i56wrr/comment/i1oqhm5/
Part 2: Modify the APK
Gil's guide says he used APKTool and APKLab to unpack the Keymonk APK, but APKLab is a VSCode extension and personally I'm not really a fan of using VSCode. I tried using just APKTool on its own, but I found I couldn't edit the AndroidManifest.xml without the APK becoming unusable as I recompiled it. I'm sure APKTool is capable of recompiling it properly, but I just couldn't figure it out.
Instead, I used the APK Editor Studio to open up the APK and make my edits. The Studio was easy to download and run - I used the AppImage edition as I run Linux, but I'd imagine the Windows/Mac editions to be just as straightforward.
Configure the Studio
Start the APK Editor Studio and click
Settings→Options. In the Options widget, select theApktooltab and check the box forDecompile source code (smali). ClickOK.
Open the APK
ClickFile→Open APK..., then browse to the APK you downloaded in Part 1. It should load up nicely in the Studio.
Switch the
Resourcesview toFile System:
Set the Minimum SDK to Android 13.

Edit the
AndroidManifest.xml, and addandroid:exported="true"to the<service>and<activity>tags that include<intent-filter>sub-tags.Change L6 from:
<service android:name=".LatinIME" android:permission="android.permission.BIND_INPUT_METHOD">to:
<service android:name=".LatinIME" android:permission="android.permission.BIND_INPUT_METHOD" android:exported="true">Change L12 from:
<activity android:label="@string/ime_setup" android:name=".SetupHelper" android:theme="@android:style/Theme.Black.NoTitleBar">to:
<activity android:label="@string/ime_setup" android:name=".SetupHelper" android:theme="@android:style/Theme.Black.NoTitleBar" android:exported="true">Your updated file should look like this:

Save the
AndroidManifest.xmlfile (either by usingCtrl+S, or from the menu by clickingTab→Save Resource.
Edit the file
LatinIME.smalito add the function code.In the
File Systemtree, expandsmali→com→keymonk→full, then double-click the file LatinIME.smali to edit it.
Either search for the text .
line 595, or manually scroll down to line 13586 to find it. After L13587, i.e., between the.line 595block and the.line 597block, add the below code:.line 596 virtual {p0, v6}, Lcom/keymonk/full/LatinIME;->setCandidatesViewShown(Z)VNow your file should read like this:
 [...]

     .line 595
     invoke-super {p0, p1, p2}, Landroid/inputmethodservice/InputMethodService;->onStartInput(Landroid/view/inputmethod/EditorInfo;Z)V

     .line 596
     invoke-virtual {p0, v6}, Lcom/keymonk/full/LatinIME;->setCandidatesViewShown(Z)V

     .line 597
     iget-object v5, p0, Lcom/keymonk/full/LatinIME;->mThemeConfig:Lcom/keymonk/full/ThemeConfig;

 [...]
Save the
LatinIME.smalifile (either by usingCtrl+S, or from the menu by clickingTab→Save Resource.
Save the APK, probably as a new file.
Click
File→Save APK..., or useCtrl+Alt+S. Pick a name for the new APK and clickSave.
You'll be prompted with a note to tell you that the Studio is going to use its own keystore to sign the APK, which is fine for our purposes. You don't intend on sharing this around, right?
Part 3: Install the modified APK
That's it! You need to get that APK onto your Android device and install it - if you don't already have it configured, you'll need to set the OS to allow installations from untrusted sources. But if you've made it this far down in this article on your own, you can probably figure this part out yourself. :)
Big thanks to Gil for his original article, there was no way on Earth I'd figure this out on my own otherwise.